Blobs of Gray
Here's a little tip that has a couple different side-streets to it. I don't think it's very useful in and of itself, but it's nice if you want to use it as part of a bigger project.
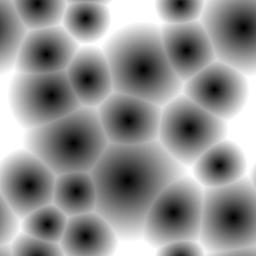
Well, first of all, we want to create a suitable starting image. To do this, we'll use one of Kai's Power Tips to create some blobby gradients all over an image.
To do this, be sure to set your gradient type to Radial and the mode to Darken Only. This will let you draw gradients that appear to blend together smoothly. Below is a canvas that has been filled with the gradients, offset, and then most of the holes filled in.
Blobs of Gray
To make it more interesting, we'll colorize it by using the Image > Adjust > Color Balance dialog. Exactly how you do this isn't important; any color at all is sufficient. I've included a screenshot of the settings I used and the results.
The Color Balance dialog
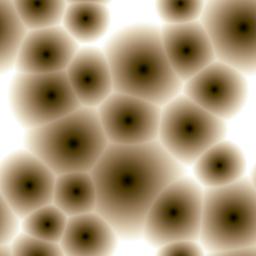
The effects on the Blobs of Gray
Now comes the most interesting part. Tweaking the Curves dialog of this image will produce some very intriguing concentric circles. To my knowledge, there's no other way to create this type of effect.
When you open the Image > Adjust > Curves dialog, flatten out the curve all the way to the top or the bottom (in my example, I started with the bottom). Then create "waves" across the curve by alternating points at the maximum and minimum values on the graph. Note: Many other dialogs are pretty much arbitrary, and you are encouraged to try other values. However, this tip just doesn't look right if you don't make waves of the same height and depth, IMHO.
The Curves Dialog
This has a very, very interesting effect on our image.
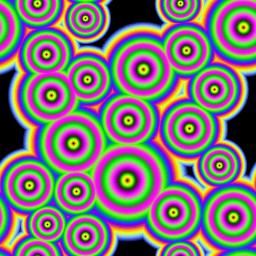
Getting Trippy (jpeg butchered this image...)
This image is now a tileable, certifiably trippy image. If you want to take it a step further (and I sure do) you can use the excellent Whirl plugin to creat a sort of Dali-esque effect on these brightly colored concentric circles.
An easy way to do this is to select a small region and Whirl it, and then to do this to other small regions as well, but with slightly different settings. Here's my starting point:
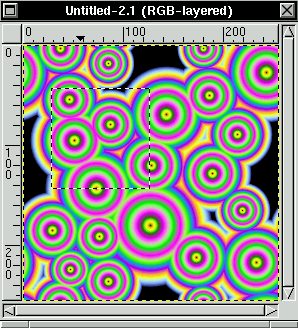
The area to Whirl
From there, I used other regions to whirl, then I offset the image by half its height and half its width and did a whirl on the overall image, rather than a small subsection. Here's the final result.
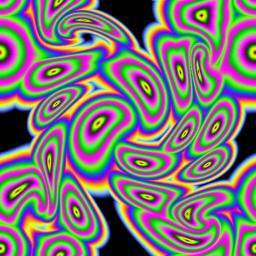
This is the trippiest. And it tiles!
And there you have it!
Hmm. One of the reasons the colored images look so jagged is that they are not really great images for jpeg compression. However, comparable GIF files were too big in size to put on the page. As a compromise, I've included a gzipped XCF file containing all the images I used in this tip (sans dialogs). Hey, am I considerate, or what? :)
The standard disclaimer applies: If you create some cool images with this tip, let me know!
Happy GIMPing!