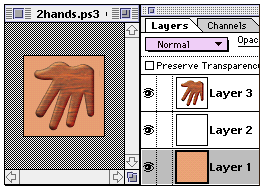
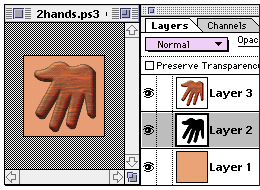
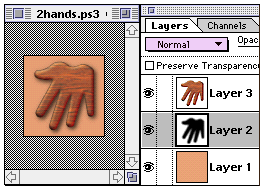
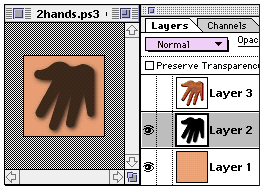
Step 4. (the last) Now one thing I've noticed, is that after adding the blurred shadow under my image, the bottom edge looks REALLY sharp against the dark shadow, and by contrast the top left now looks rather weak. So what I do is load my selection that I saved in Step 1, (remember step one? I told you we needed that selection!), and I do a fill of black ON TOP of my shadow, completely covered by the floating image. Hmmm... You say. What's the point of that? It's completely covered! Well, not quite. Look at that top left edge again. Toggle back and forth with 'command-Z' to see the difference. There's a LITTLE bit of black bleeding through, defining that edge for you. It's a little too subtle to be noticed, but you notice when it's missing. (At least *I* do!) Now save your image. NOW! In Photoshop format. OK, now you can flatten it and save it as JPEG or GIF for WWW use. Now one thing I've noticed, is that after adding the blurred shadow under my image, the bottom edge looks REALLY sharp against the dark shadow, and by contrast the top left now looks rather weak. So what I do is load my selection that I saved in Step 1, (remember step one? I told you we needed that selection!), and I do a fill of black ON TOP of my shadow, completely covered by the floating image. Hmmm... You say. What's the point of that? It's completely covered! Well, not quite. Look at that top left edge again. Toggle back and forth with 'command-Z' to see the difference. There's a LITTLE bit of black bleeding through, defining that edge for you. It's a little too subtle to be noticed, but you notice when it's missing. (At least *I* do!) Now save your image. NOW! In Photoshop format. OK, now you can flatten it and save it as JPEG or GIF for WWW use. |
|
 |
