
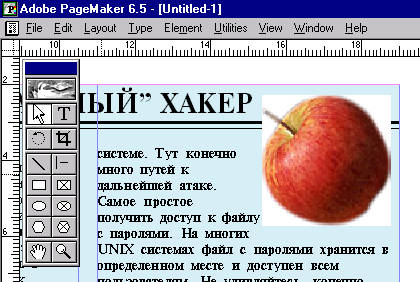
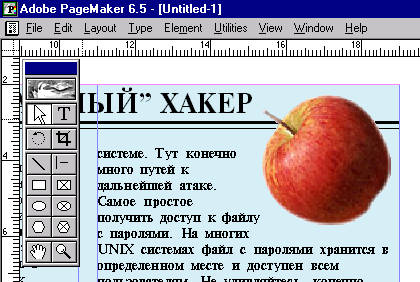
That's how it usually looks if you want to put your image over something in your publication.
To eliminate this problem we will use clipping path.
You will need Adobe Photoshop to create a clipping path.
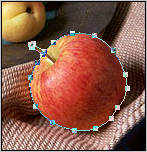
Start Photoshop, open your image and create a selection using paths.
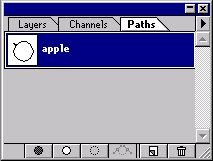
Now, open Paths Palette by choosing Window>Show Paths. Double click Work Path and rename it (this is a required step!).
Now, click small triangle in the top right corner of palette and choose Clipping path....
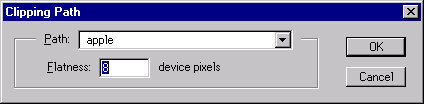
Choose your path as a clipping path.
Flatness depends on output device. If you are preparing your publication for low-resolution (up to 800 dpi) then set flatness to 4-5 device pixels. If you are doing some high-resolution work (more than 1200 dpi), set it to 8-9 device pixels. Make sure the paths are curved, especially in case of high-resolution output.
To achieve maximum quality and better look it is recommended to feather edges of the object (depending on resolution do feather up to 5 pixels). First make a selection from path (drag path onto dotted circle button in the bottom of the path palette). Now, contract the selection at as many points you are going to feather it (Select>Modify>Contract...). Next, feather it (Select>Feather), invert the selection (Select>Inverse) and hit delete key (make sure the background color is white).
Deselect and save the image as TIFF.
In your PageMaker publication simply place the image where needed.
© 1997 Max Zaroutski.